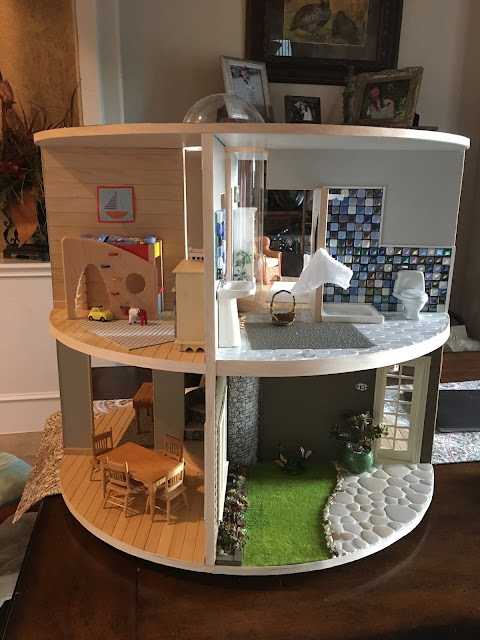
This is my second project building a barbie-sized 1:6 dollhouse. A few years back I found an old Sunset book called "Things to Make for Children," and it has some great, creative dollhouses that you can build, in a few different scales.

I've actually made two different dollhouses from this book now, but I'll talk about the other one in a different post.
There's something you should know, and that is that I have never taken a woodworking class, and while I have some nice power tools, I don't have everything, and I'm not really great at using the ones I do have! For instance, if I had a router and knew how to use it, this house would have been so much easier to build! As it stands, I'm pretty proud of myself for rabbeting the pieces of wood, and getting them to fit together a little more solidly - I'd never done that before.
This house took nearly a year to complete, for a few different reasons. Sometimes I get builder's block and don't know how to work through a design problem. And sometimes my workshop just gets really really hot in the Houston summer. Other times, it's because I'm using my creative juices on other projects, like sewing or quilting, or remodeling our family's new cabin! But I finally finished this house a few weeks ago and it's been safely transported to its (hopefully) final resting place in Eden, Utah, where future grandkids and other littles who visit us will be able to play with it for many years.
I used a lot of edge-banding in this one, and in order to give it some contrast from the banding, I picked a darker vinyl for the floors. I found the kitchen floor tiles at Lowe's. I was excited to build a house with an elevator, but this one is tricky and I haven't been able to get the magnets to stay glued to the wood! I'm still waiting on some kitchen appliances from Elf Miniatures and some more decorations. I guess it's always a work in progress!
 |
| This is actually the back side of the house. It stands over four feet tall! I added casters to the bottom so it would be easier to move around. The bottom floor is a garage, and the elevator, which you can't see in this top photo, takes you upstairs. The "stone" is a wallpaper which I have a ton of so I use it in a lot of my houses. I used self-adhesive cork for the roof. |
 |
| Front view, which shows the elevator. The second floor has two bedrooms and a bathroom, and the top floor has a living room with a vaulted ceiling, and a kitchen. In the kitchen are stairs that take you up to a rooftop patio. |

 |
This is the view of the elevator entrance from the carport.
|
 |
| Rooftop Patio. The floor is made from pieces of a bamboo placemat, and the furniture is actual vintage barbie furniture. I painted the table top to match the house a little better. The planter is a succulent from Michaels. |
 |
| Looking down the stairs into the kitchen |
 |
| The bathroom wall is made of tambour, painted a light green. The counter top is a tile sample from Modwalls. The floor is mosaic tiles from Hobby Lobby. The "subway"tile behind the tub is from Home Depot. Its also used as the kitchen backsplash. The sink is a condiment dish from Sur la Table. |
 |
| This house was intended to be a ski house, and every ski house has a bunk room. This shows the bunk room and the master as well. |
 |
| The light is a touch light from WalMart. This is one of the advantages of building a house in a larger scale; I could never use that light in a 1:12 home. |
 |
| This metal piece that I used for the bed was some kind of small shelf I found at the Container Store. I hung it by first covering a piece of bass wood with walnut edge banding, drilled small holes in the top for the shelf to hook into, and then glued it to the wall. I then made the mattress and bedding. |


This is incredible! Awesome build and good find on that book!
ReplyDelete